How To (I) Gentle Skim Your Head & Barrel
-
How To Skim A Head
Due to this being a common issue I've decided to take the time to type up how I skim my barrels and heads. I've been doing this method for years and it seems to work a trick. By no means am I professional mechanic but I would like to share how it's worked for me.
Firstly I would like to say a few things:
- Remember it's a marathon not a race
- Take you time
- Be patient
- Don't force things
Be
GENTLE- The idea is to gently remove material
- Aluminium is malleable
Follow these steps and you should find success
So let's start:
Equipment
- Barrel
- Head
- Three Kinds of Wet and Dry Paper (Varying
- Completely flat surface (Ideally a sheet of glass)
- A jug of water
- Brush
Extension: Polishing Combustion Chamber
- Drill
- Polishing Tool
- WD40
- Autoglym Metal Polish
Start
Firstly find a suitable
flatsurface to mount thewet and dry paperto. You want to start with thecoarsestfirst and work your way down to the finer grade.Remember if the surface is not completely flat you will not be able to skim the item.
I don't have access to a flat workbench that has been CnC perfectly. The next best thing is a sheet of
glass, which like most, I do have!
Place your sheet of wet and dry to the glass. Make sure it is completely flat onto the glass and tape it down.
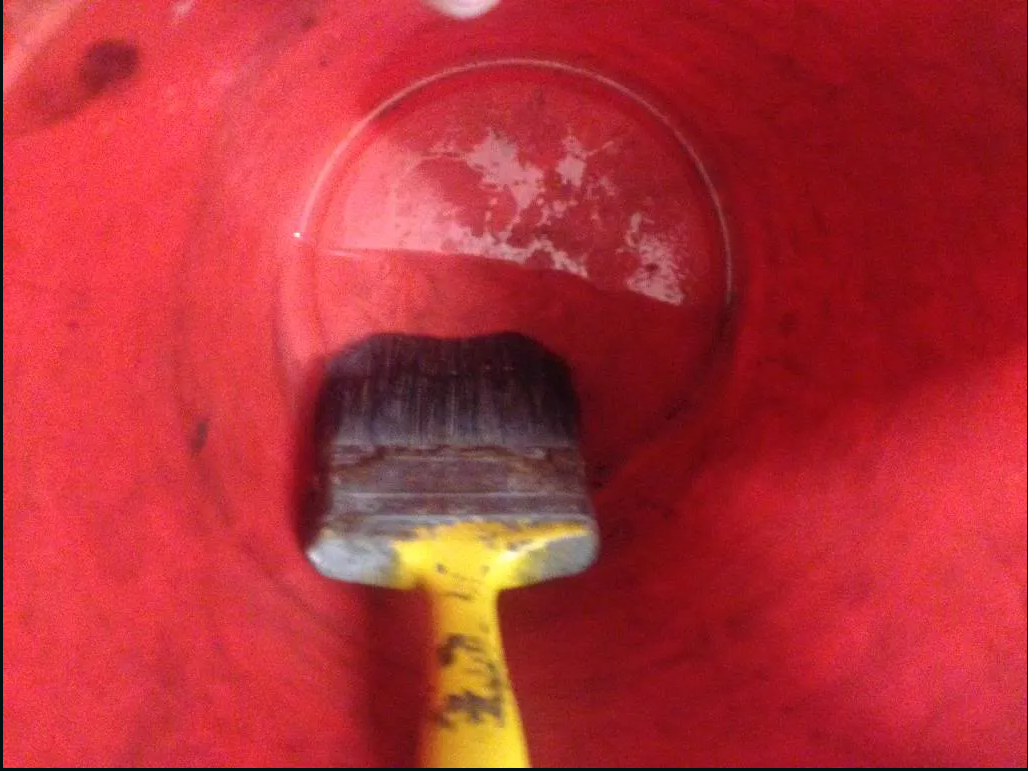
Grab a bucket of water and a large brush

Apply a small layer of water to the wet and dry paper. Try not to over wet the paper. One dip of the brush of this size and apply all over was enough.
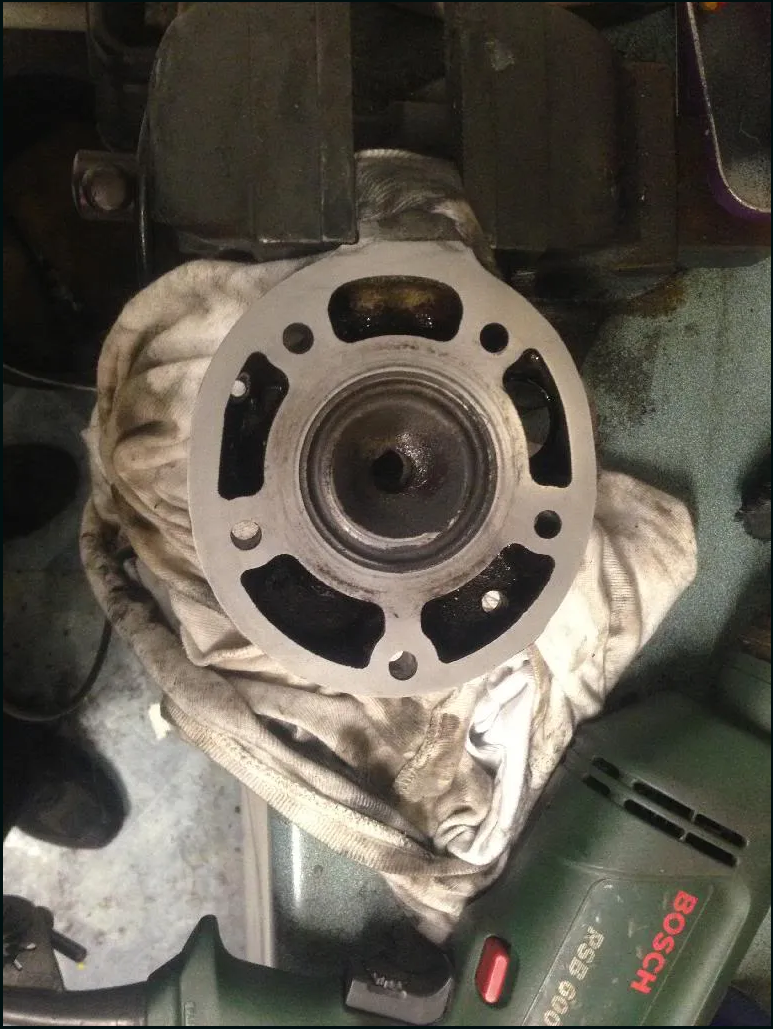
Grab the item in question:
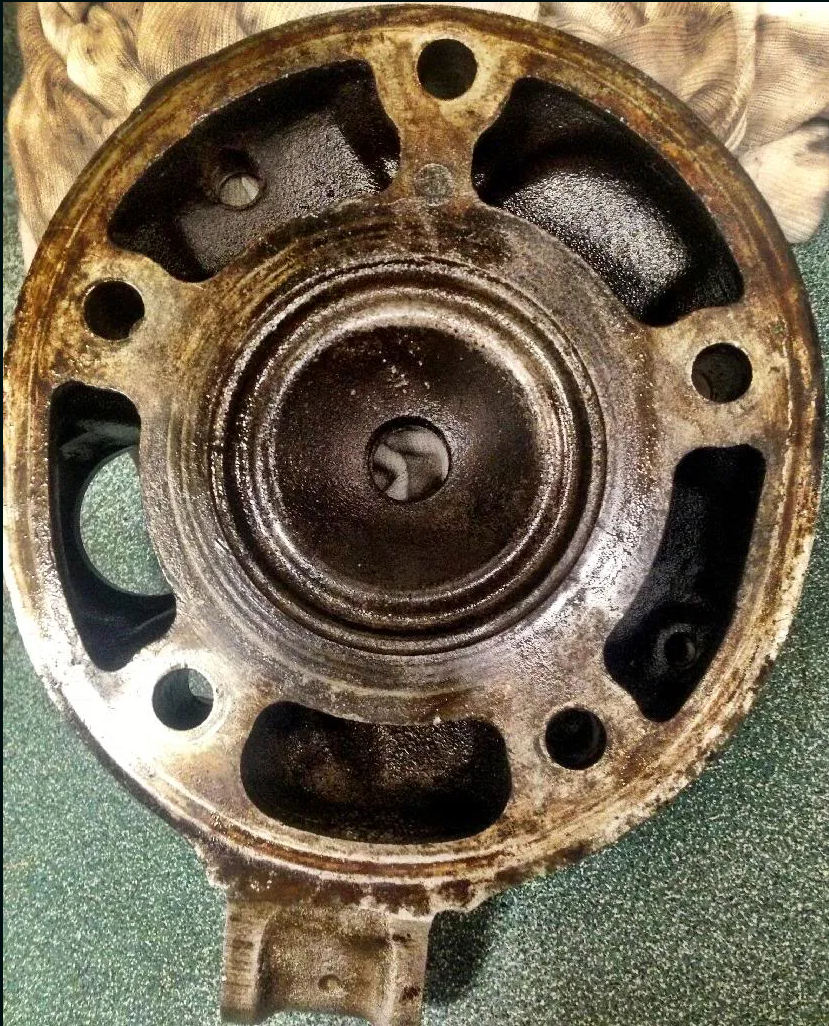
So this is a spare 3BN head that Andy sold me. As you can see it's in a right old state and this method works really well to tidy it all up.
By Placing it face down start to rotate in circular motion over the wet and dry paper.
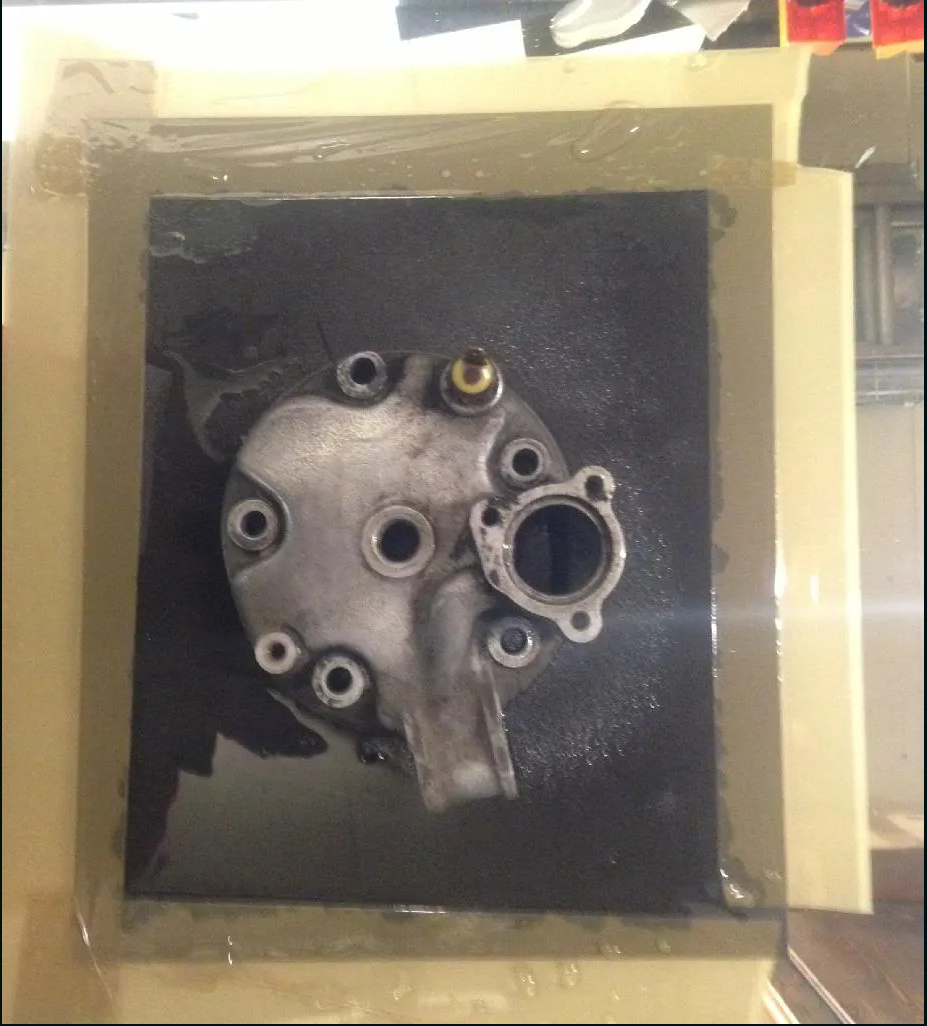
^^^^^^In this photo i'm using my 4DL head^^^^^^^
The 3BN actually went last so it's final effect is not as good as the 4DL head. But I don't intend on using the 3BN It was just a good example
*Back to the 3BN head*
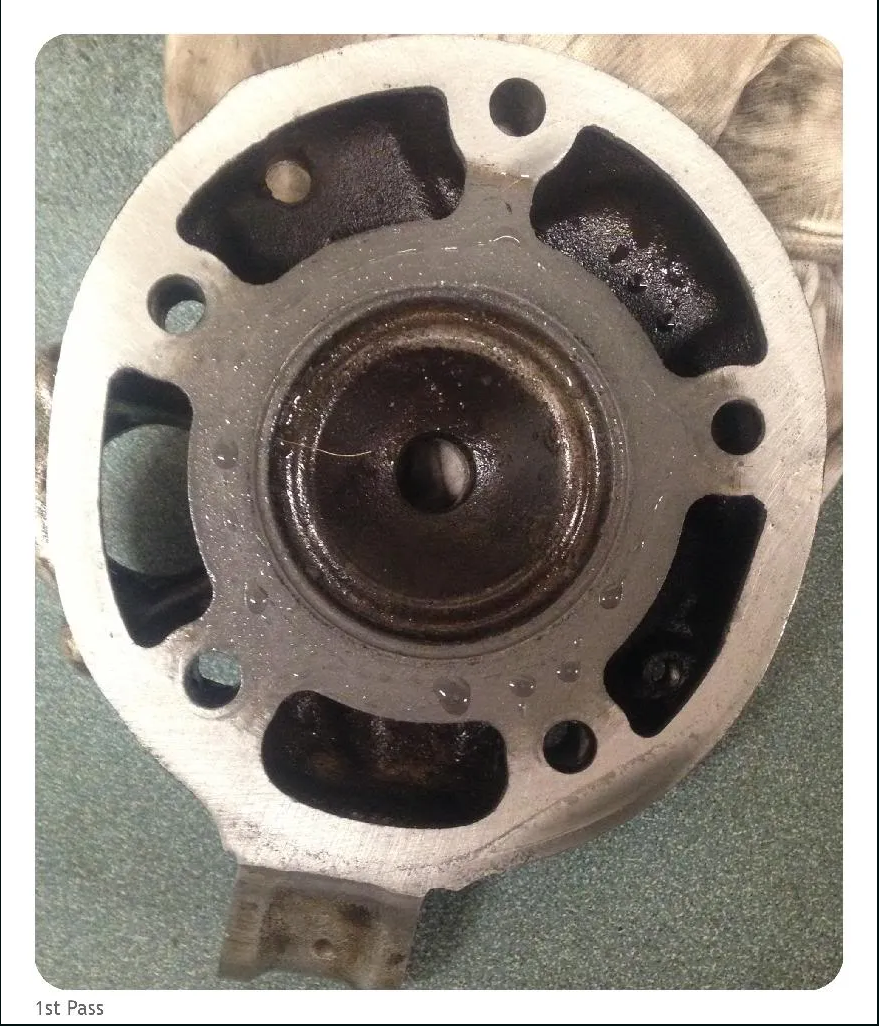
This is the 1st pass of the wet and dry and remember this went after the 4DL head and Barrel had used the same wet and dry. So you should be seeing better results.
I didn't even wipe it in this photo but you can see it's already looking better.
Lay down your next sheet of wet and dry REMEMBERING to now use the next grade up (Always going finer and finer)
Again apply a layer of water to the paper like you did before and rotate the item in circular motion.
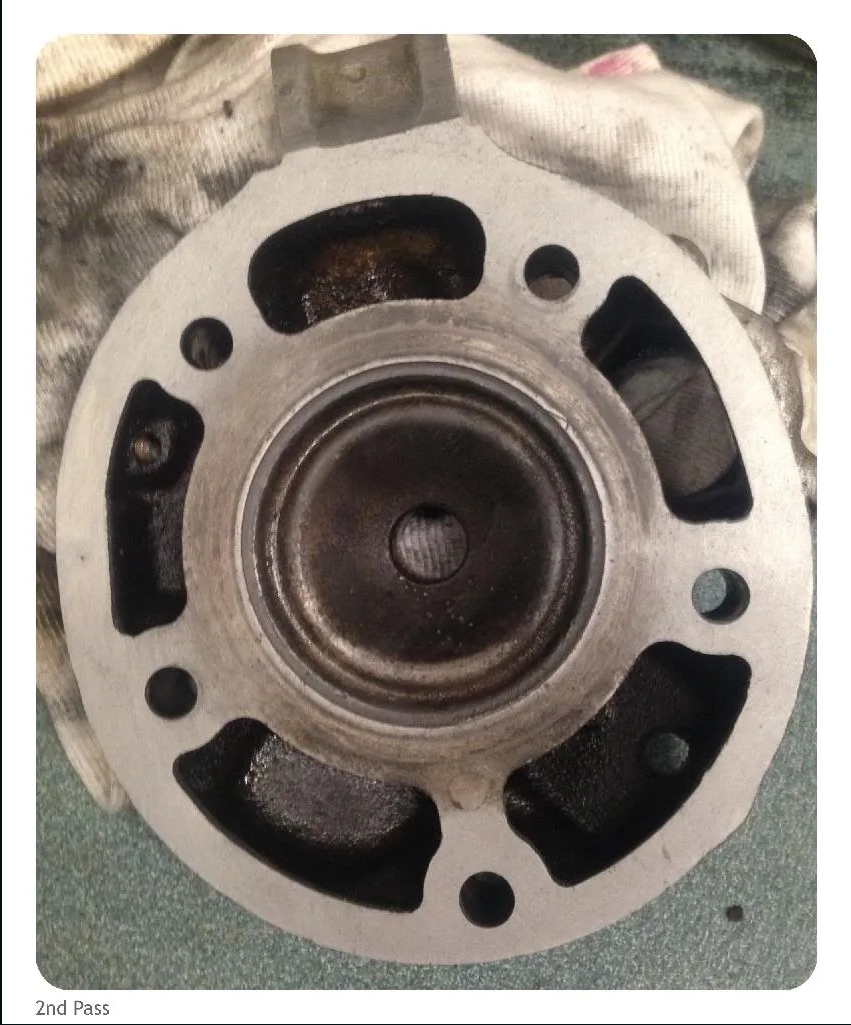
This is the second pass. I gave it a little wipe before I took this photo. Just so you can now start to see how much it's cleaned up by.
Again go the next grade up on the wet and dry paper (You should now be at your
FINESTgrade of wet and dry paper)Apply some water to it like you did in the previous passes.
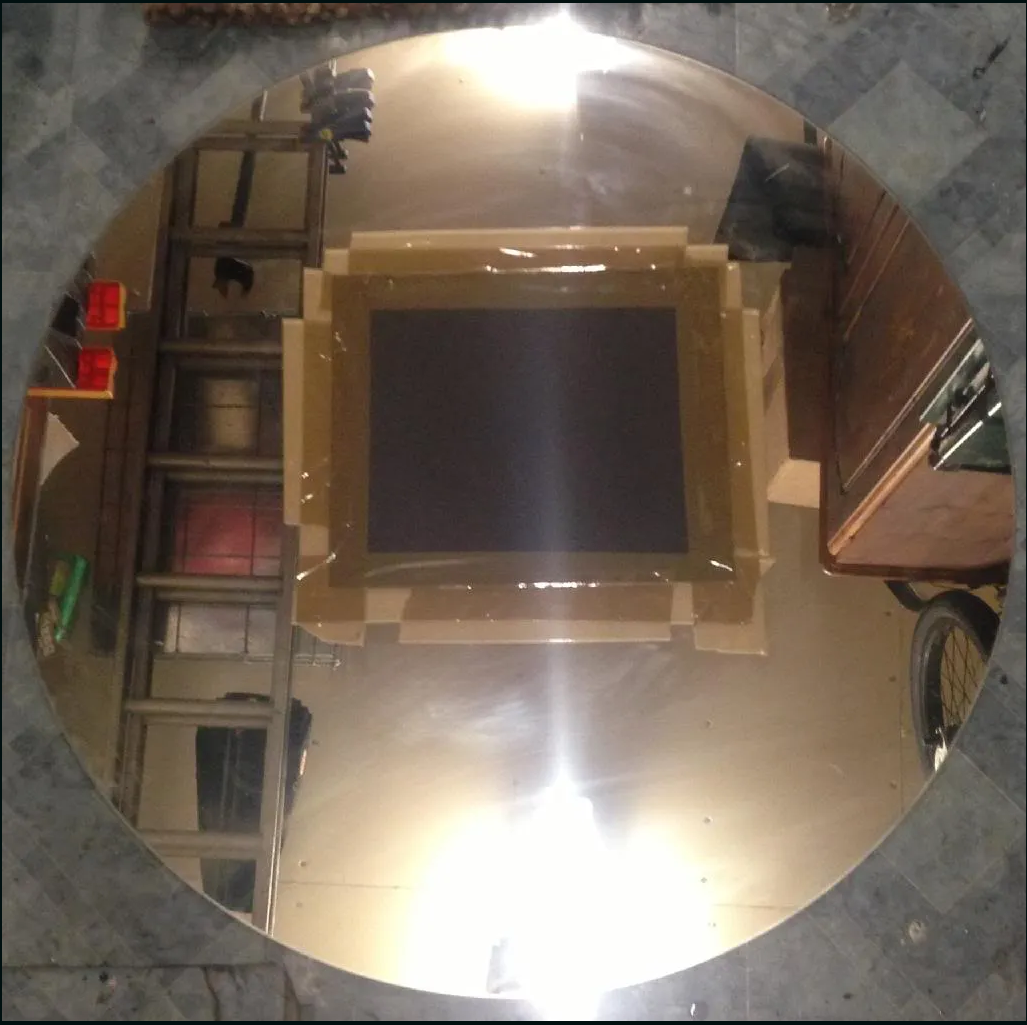
^^This is the FINEST grade ^^Again rotate in circular motion
This is what the cylinder finished up like...
That ring of dirt by the water jacket
HASto go. Yours should have but because I had already used the same wet and dry paper to do a Barrel and a Head it was worn down by the time this one came to use it.You should now have successfully skimmed your item. It ought to look better than that 3BN cylinder and I do have a photo of what the 4DL looked like after I finished. (The 4DL went first on the wet and dry so came up much better)
Extension
Whilst you have the cylinder head off you might as well go the extra mile and polish up the combustion chamber.
By
Polishingup the combustion chamber you can reduce the build up of carbon and thusincrease performance.Here's how I do it.
Place the culprit into a vice and clamp it down using the engine mount and a rag to protect it. It's a good idea to place an object for the head to rest on whist you work on it.
Using a cheap polishing tool off ebay for about £5 you can begin to get rid of the surface carbon build up.
To aid this I applied some
WD40.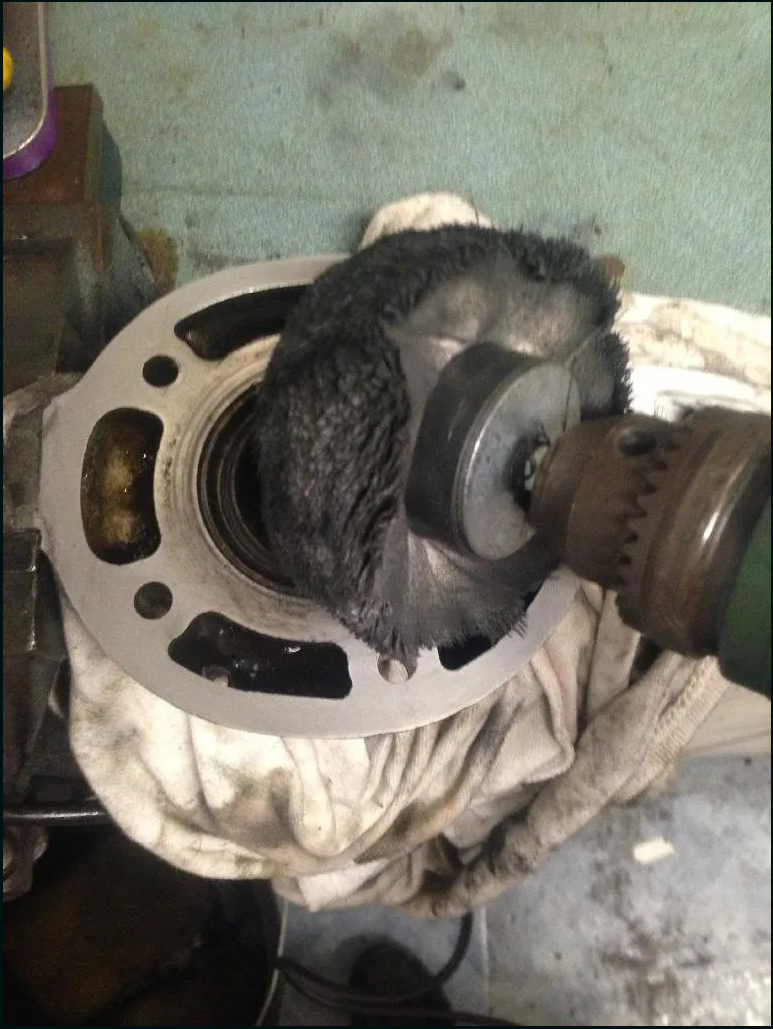
This is a soft polishing tool that I've used on many cylinders and for £5 it seems to do the trick.
Remembering to be
gentleat all times. Let the Drill do the work not you. Keep applying more WD and you should get there.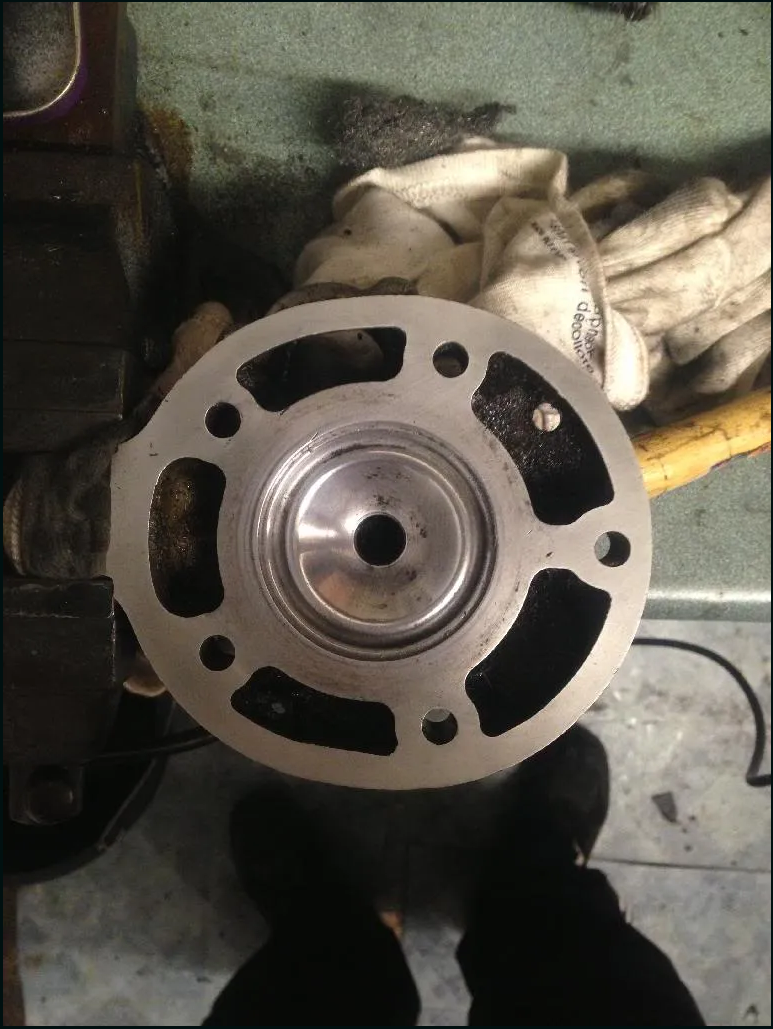
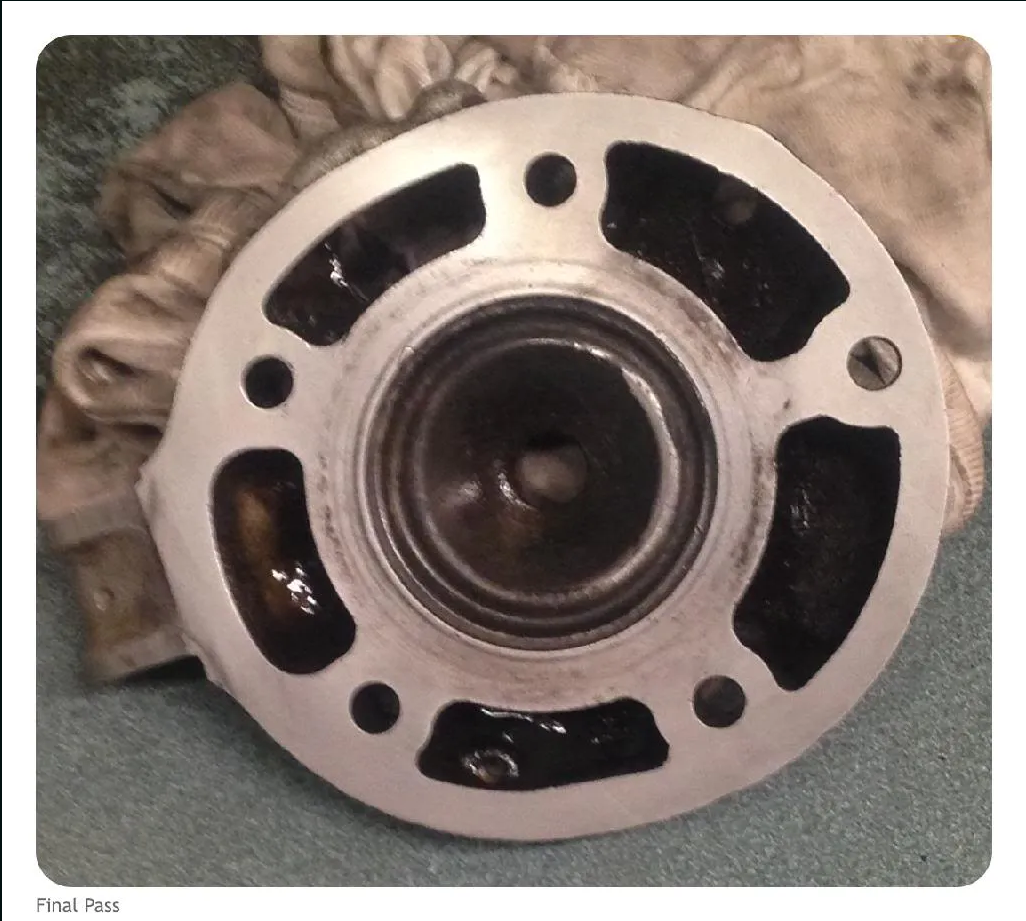
You should end up with quite a clean looking cylinder head.
(Remember of course here I'm doing to a head that I have no intention of using so I didn't give it 100% but do have a photo of the 4DL which I did spend more time on)
You now want to begin polishing this combustion chamber.
Apply thin layers of
Autoglym metal polish(or something similar)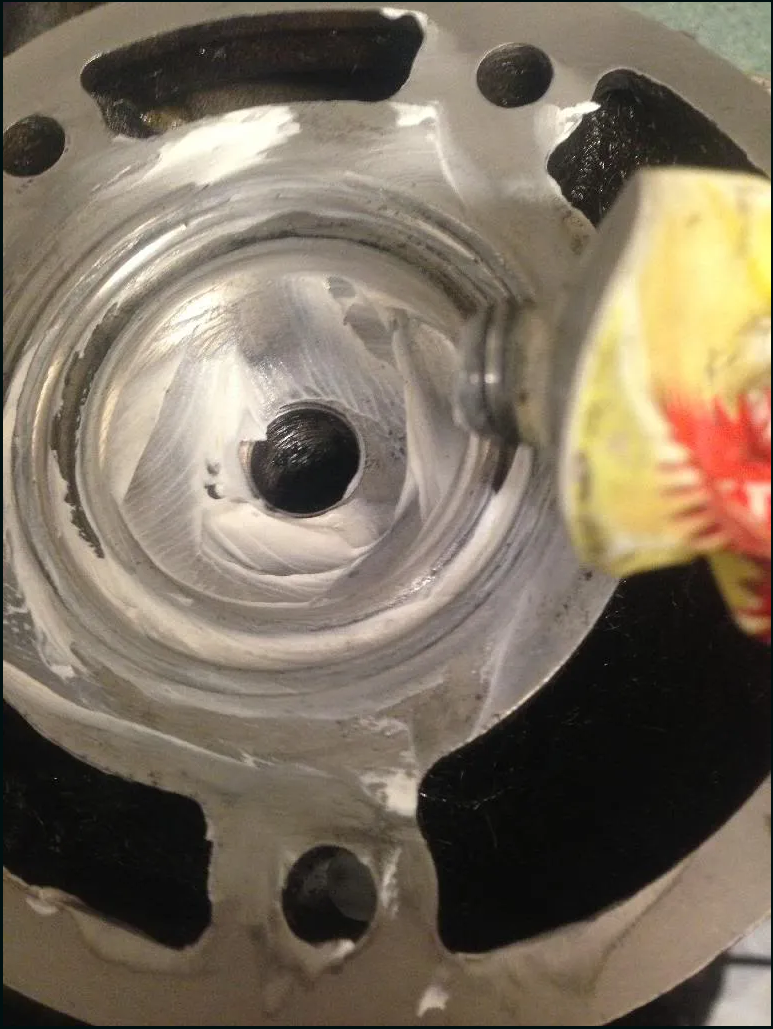
And the again begin with the drill. Remembering at all times to be gentle and let the drill do all the work.
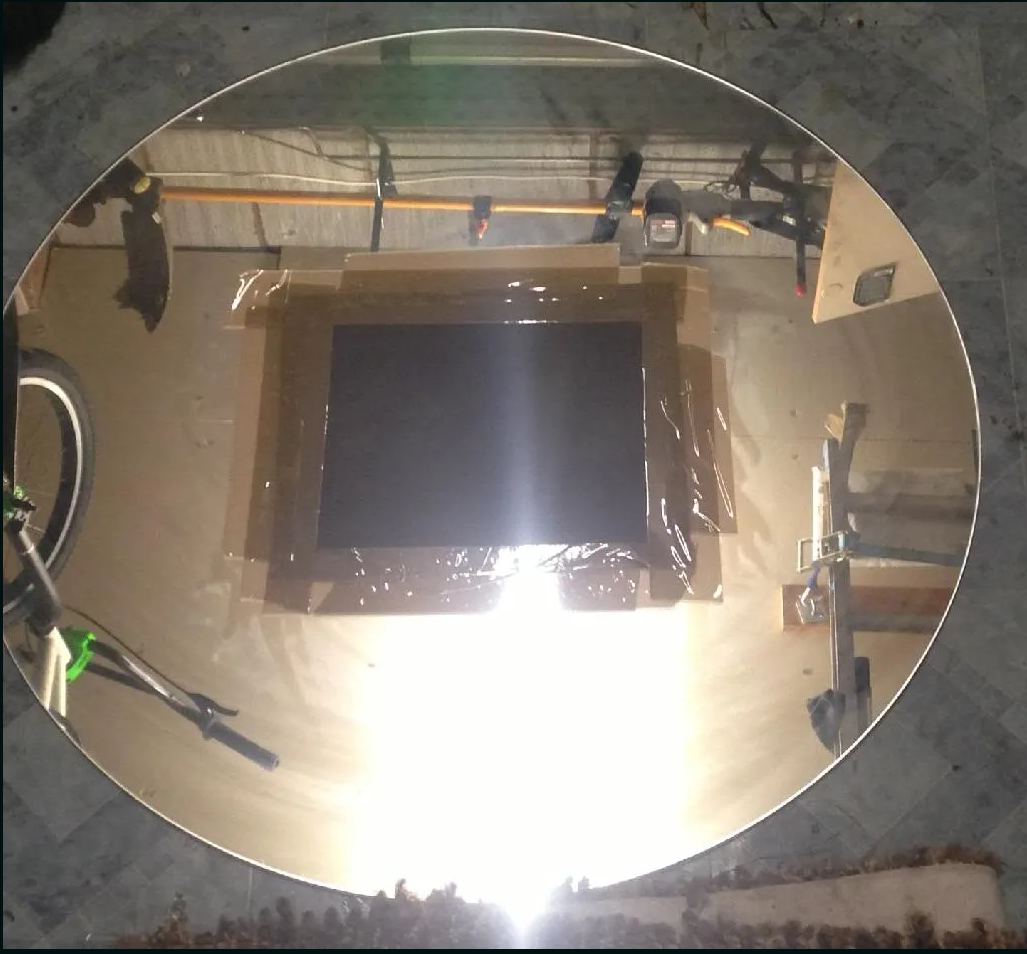
Once that layer of polish is all gone you can wipe it clean and apply some more and repeat the process. If you work hard enough you can end up with a
mirrorfinish.For the hard work you do and the pennies it costs to do you may as well.
I didn't do it too much on the 3BN as it is not in my interest too. But here is the
4DLthat I was working on at the same time...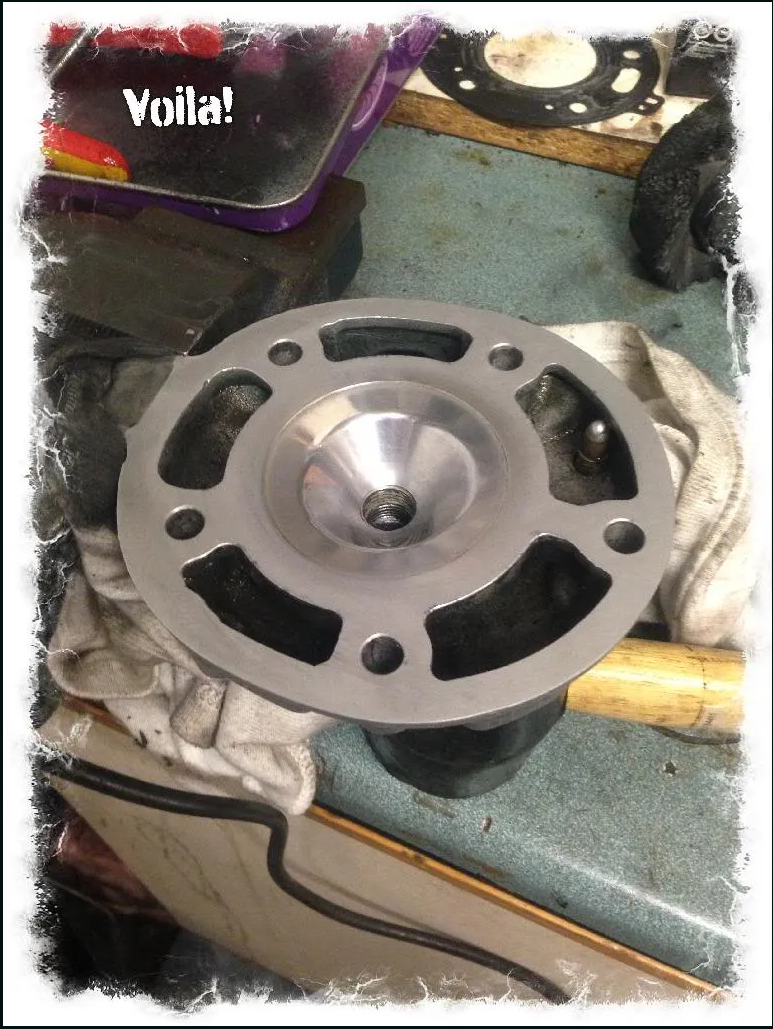
If I was really bothered I could work even harder and get that a mirror finish.
And there you go. You're finished.
Of course
REMEMBERif your head has warped then chances are the cylinder has too. MAKE SURE YOU DO BOTH THE CYLINDER AND THE HEAD!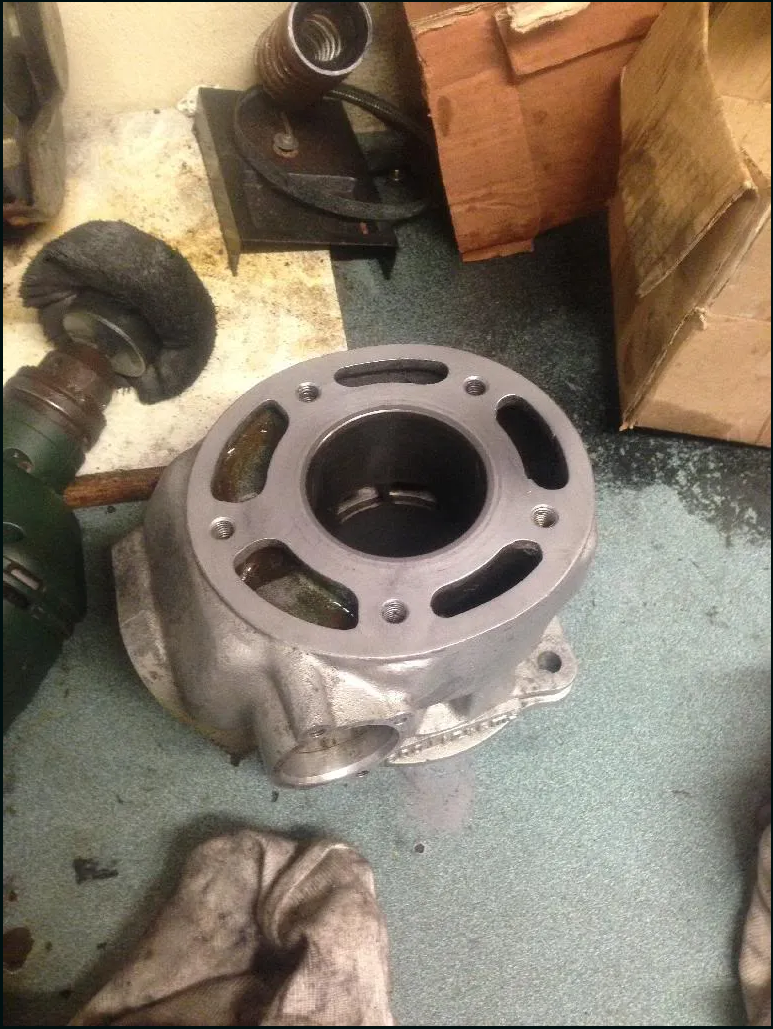
Get them both cleaned up and flush and that should see you a goodun.
I will of course reinforce the
MUSTuse of genuine head gaskets, orATHENA, upon the rebuild else all this work has been for nothing.As said I'm no mechanic but this method has worked wonders for my warped barrels and heads. And if nothing else then it's a good way of getting the barrel looking swish.
I hope this comes of use to someone.
Thanks.
Calum
16/12/2025
Reusted to remove
Photobucketwatermark. -
 C Calum referenced this topic on
Hello! It looks like you're interested in this conversation, but you don't have an account yet.
Getting fed up of having to scroll through the same posts each visit? When you register for an account, you'll always come back to exactly where you were before, and choose to be notified of new replies (either via email, or push notification). You'll also be able to save bookmarks and upvote posts to show your appreciation to other community members.
With your input, this post could be even better 💗
Register Login