Increase Air Flow by Polishing Chambers
-
How To Increase Air Flow by Polishing Carburetor
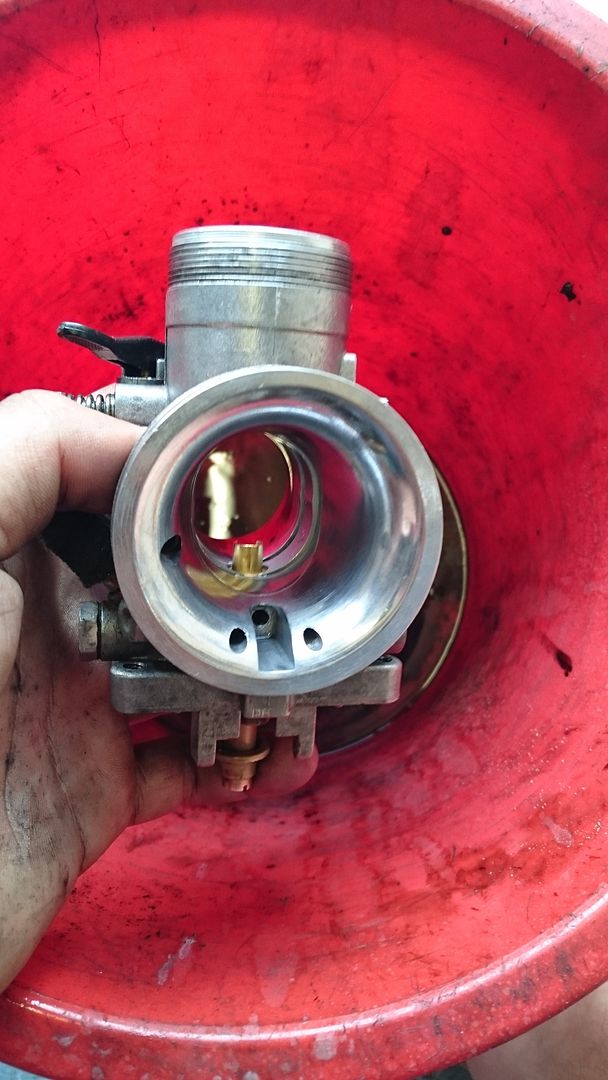
Let's release a few more potential ponies out of bikes by polishing the ins and outs of the carburetor. Here I am polishing my uprate
Delorto VHSA32mm Flat slide carb. But the same can be done to theMikunis!Don't expect this modification to really give you bags of power. It's a supporting modifcation that is worth while investing, if you're looking at uprating other components.
This is FREE power. You will not be increasing fuel consumption (noticeably anyway) or reducing reliability or anything like that. This is a modification you can do that simply can't be done in the factory, it just takes too long to warrant it.
So it's down to you, the owner, to spend a measily 2 hours giving the inlet and exhaust side a jolly good polish. By doing this you will allow the air to flow much more smoothly, and faster! Getting the fuel and air mixed much more nicely, which will bond more fuel and air molecules, which, when ignited, will give you a bigger bang! Whether you actually feel this or not is debatable.
Some people say don't polish the exhaust side as that is what is causing the atomisation of the fuel and air, and thus the pairing of the molecules. Whilst this is true to an extent, it's not definitive nor is it conclusive. Feel free to correct me if I've been misled.
Unlike the transfers and boost ports of the cylinder, polishing the carburetor will not affect the oil delivery since this happens at the reed cage, however for those of you who are reading this that do not possess a DT, make sure that you understand that polishing the ports on a engine can affect the oil mixture. I run premix so I'm not fussed. And the DT's mix the oil at the reed cage so polishing the carburetor is fine.
Anyway I digress.
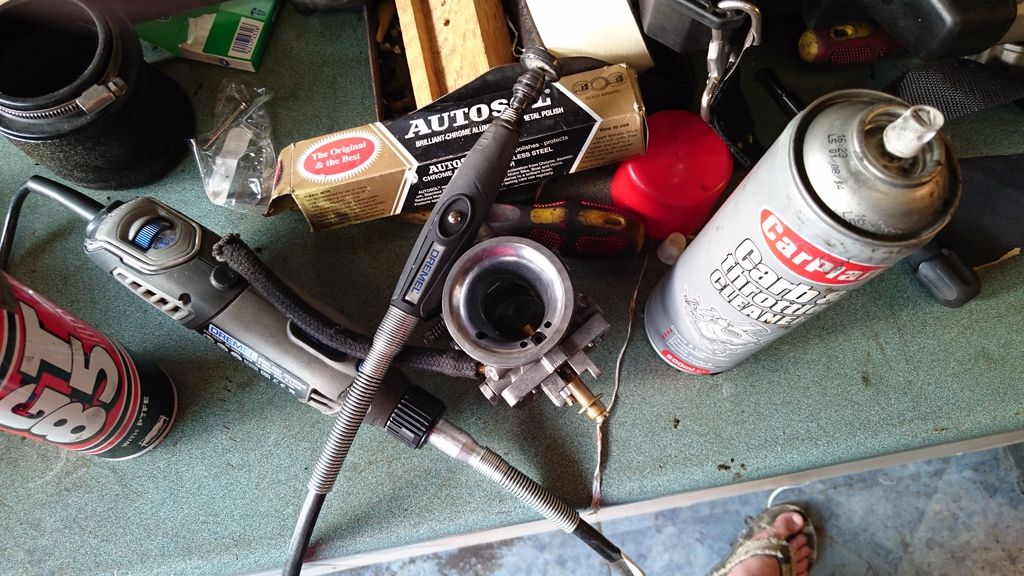
To do this modification you will want:
- Rotary Tool (Dremel)
- Metal Polish (AutoGlym)
- Polishing Wheel
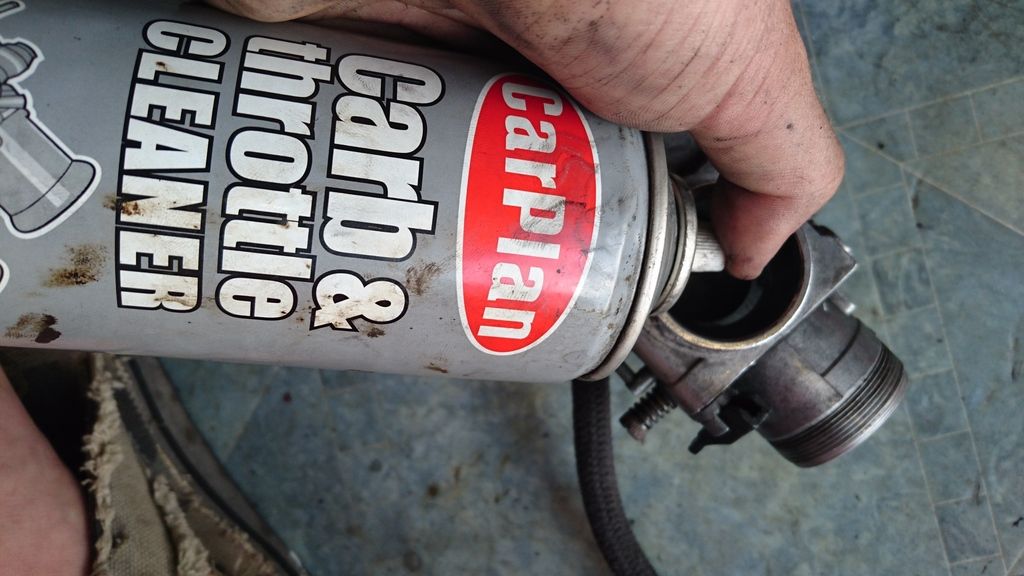
- Carburetor Cleaner
You will need to spend approximately two hours on this job, this does not include the removal of the carb from the bike or dismatling it of any components. Mine was already dismantled so I just went ahead and polished it.
First
Firstly I would recomment just cleaning the carb out with the appropriate cleaner. Remove the float bowl and clean all the insides of it out. I would also leave it off because you will want to clean it again once you're finished.
Make sure it is dry, clean and free of dirt.
Then you can begin the polishing
Second
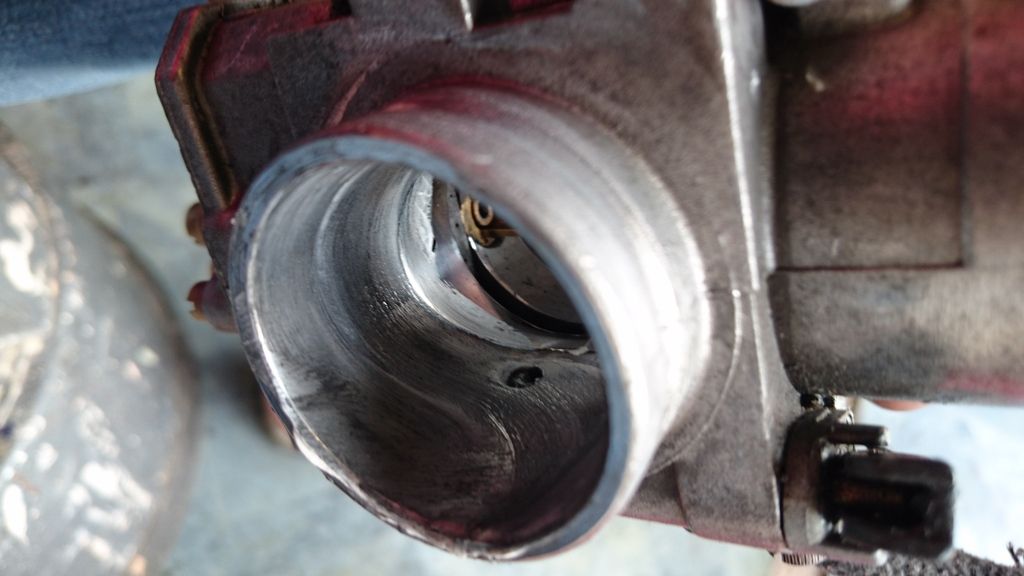
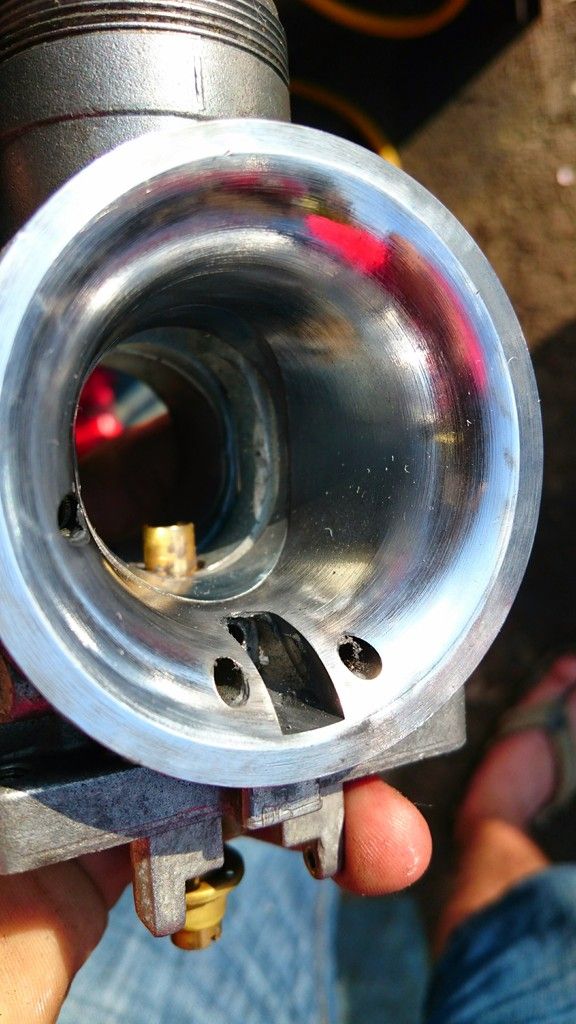
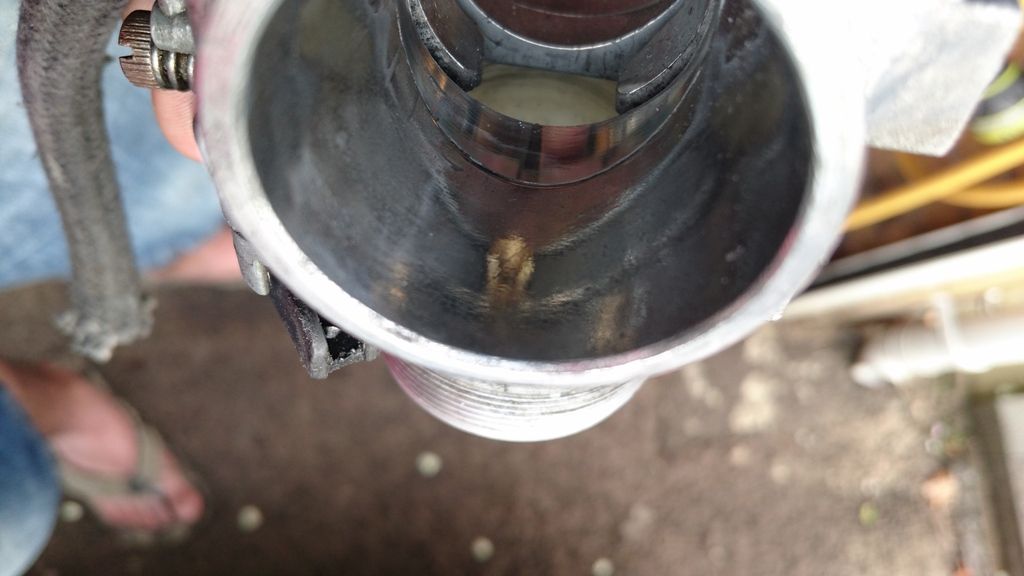
It won't matter what side you start with but I started with the intake side. (The bigger side that meets the air box. Although the photos I took are of the other side)
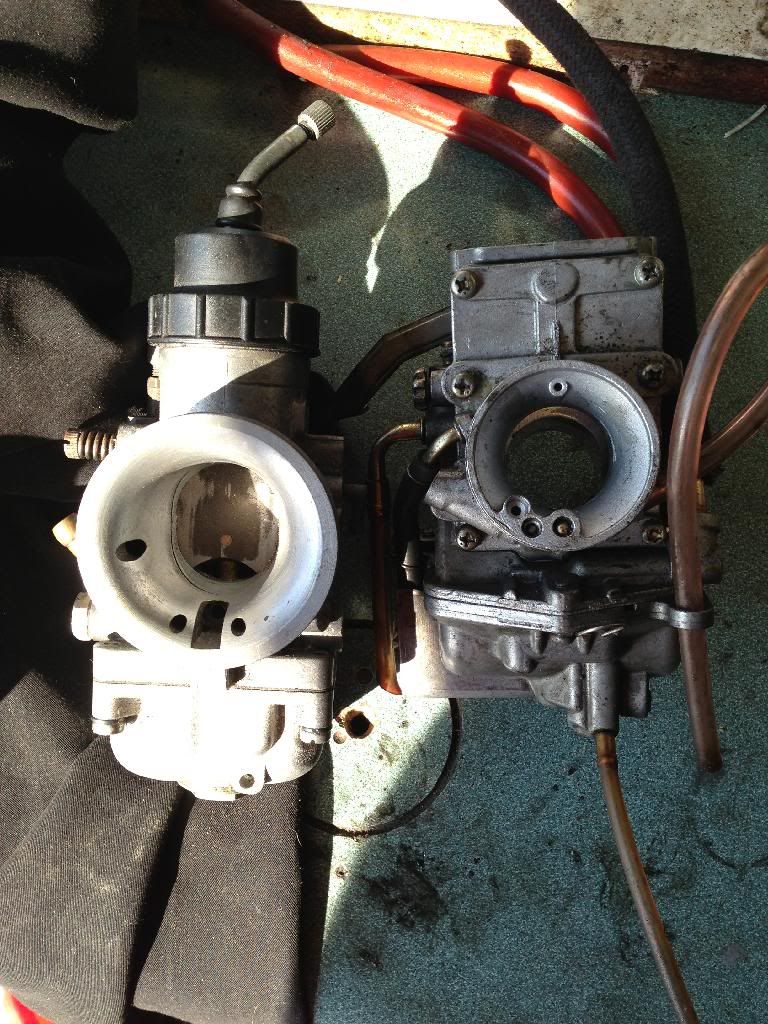
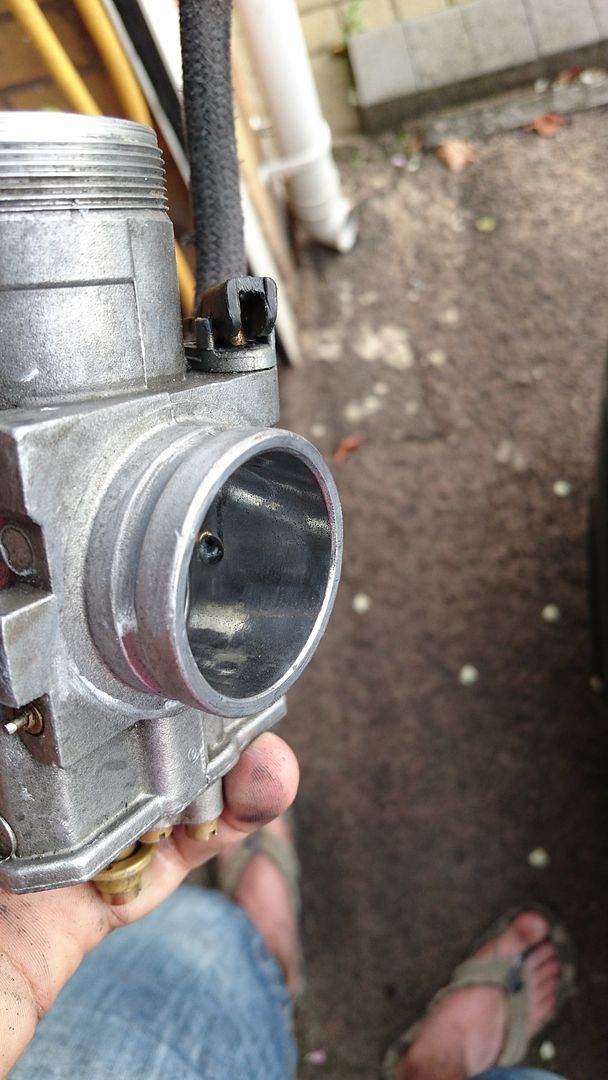
Intake Side Before. To the left VHSA to the right standard DTRE Carb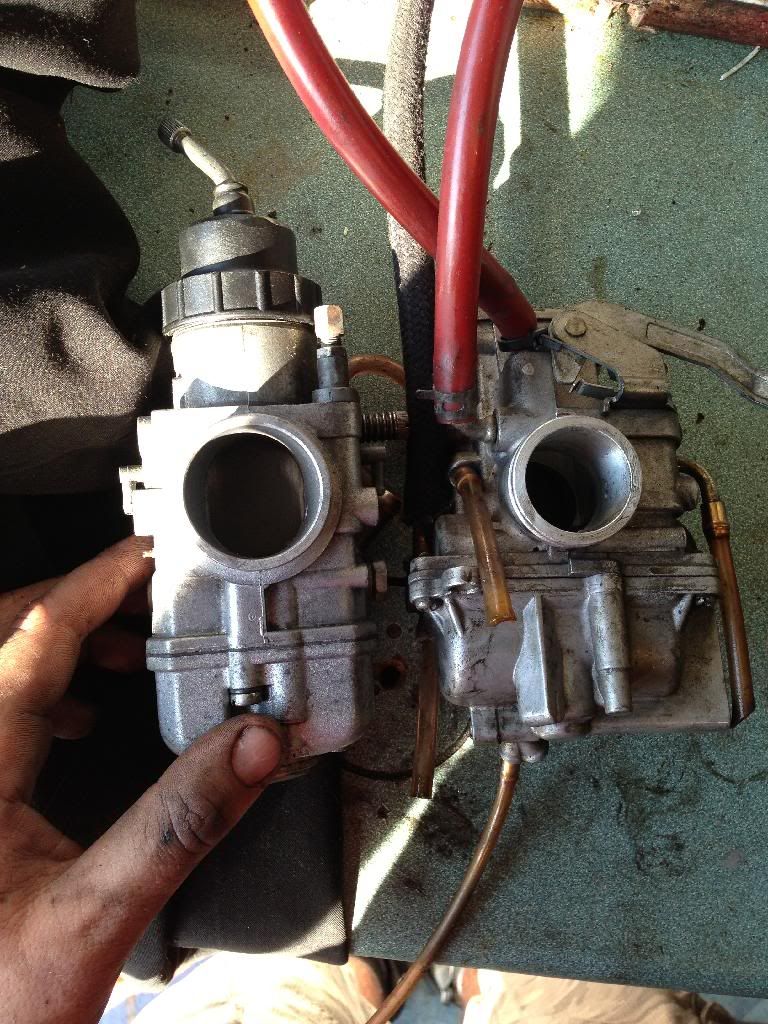
Out SideOnce clean and free of dirt, apply your
metal polishevenly to the insides of the carb. Coat all the way to the middle.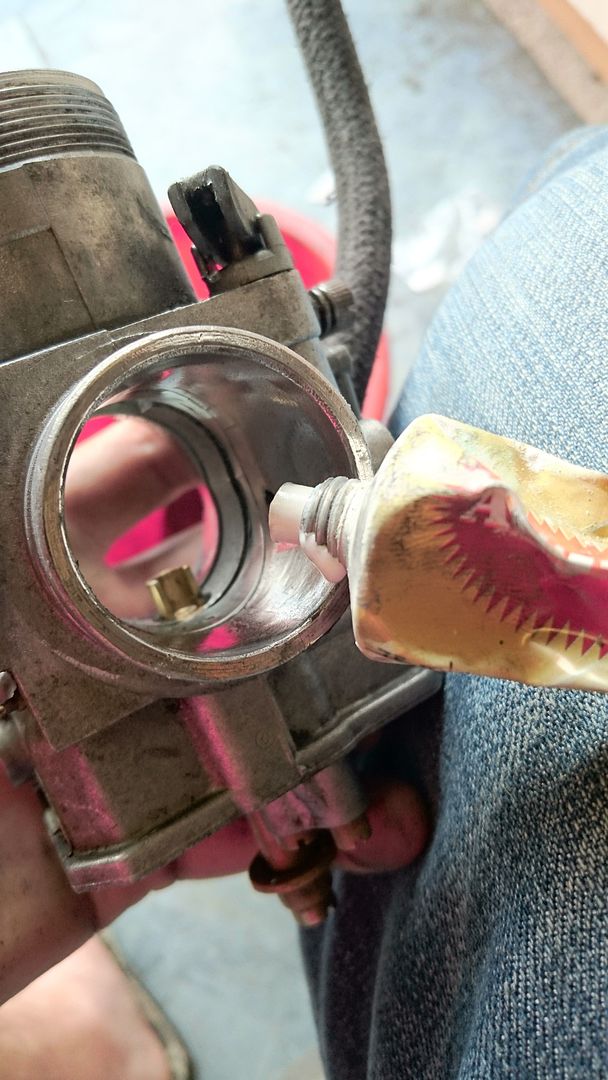
It won't need to be perfect by any means. Just use your finger to apply it.
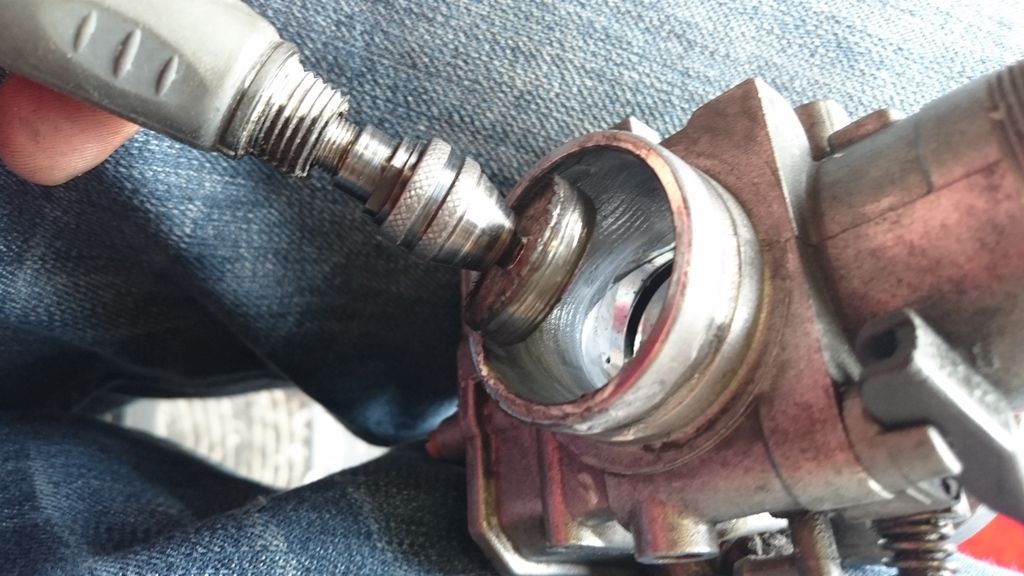
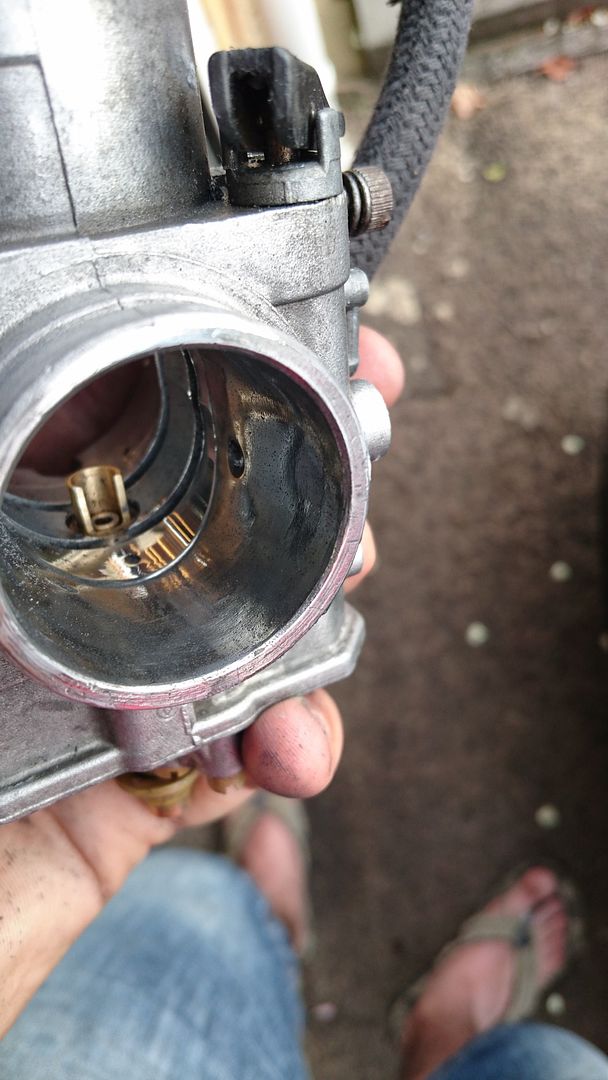
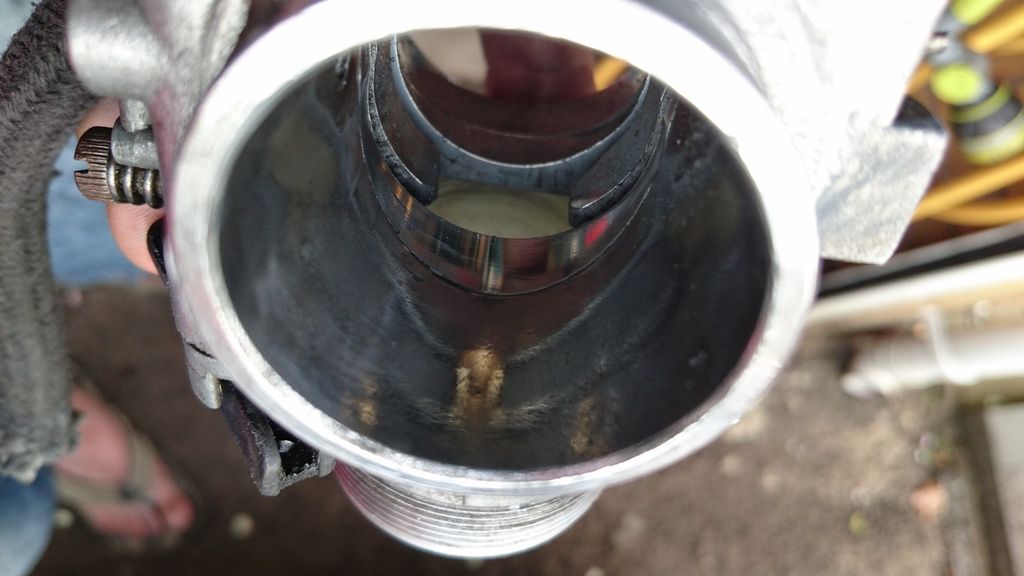
By using your
rotary toolstart to work the metal polish into the metal.Mine turns hard and black. When it does this I moved on to the softer areas.
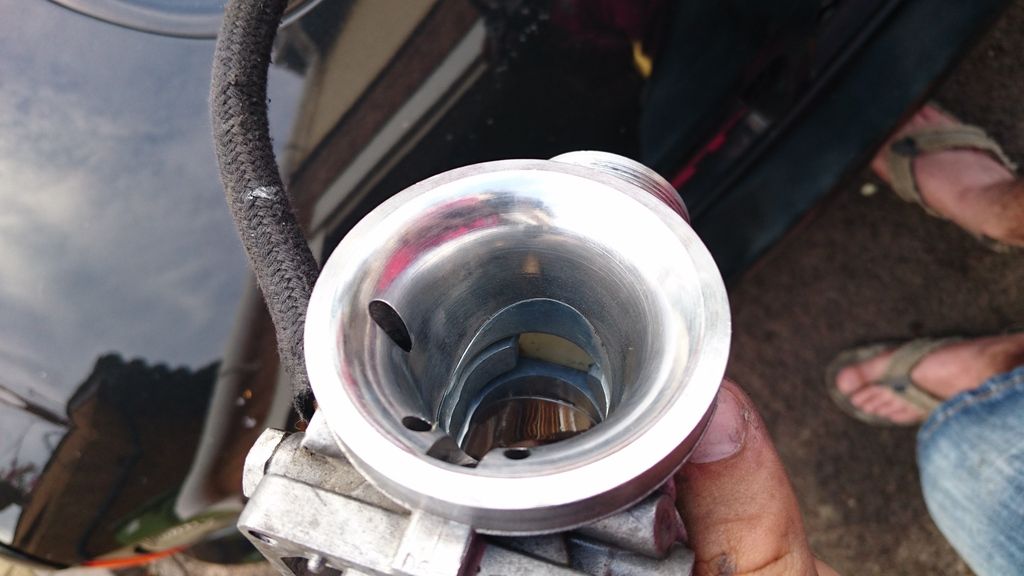
You don't need to be agressive. Let the metal polish do all the work. Being gentle is key here and not too aggressive. You will want to repeat this process multiple times. You will notice on the first pass that it is starting to become shiny. By repeating the process you will start to polish in a
mirror finish.Even if you don't achieve a mirror finish you will notice that the surfaces have become slippery to touch, this is what you are looking to achieve.
Once you are happy with the finish clean it all off with the carb cleaner. Just make sure you catch it all and don't leave it all on the floor.
Once you're finished it will look much shinier and more importantly smother!
Pictures to follow!
Spend a bit more time using some better polish
Haven't finished yet.
-
Great tutorial Calum, I will be giving this a go once I can get my hands on some polish.
Are there any other areas of the bike that could benefit from similar treatment?
-
How To Increase Air Flow by Polishing Carburetor
Let's release a few more potential ponies out of bikes by polishing the ins and outs of the carburetor. Here I am polishing my uprate
Delorto VHSA32mm Flat slide carb. But the same can be done to theMikunis!Don't expect this modification to really give you bags of power. It's a supporting modifcation that is worth while investing, if you're looking at uprating other components.
This is FREE power. You will not be increasing fuel consumption (noticeably anyway) or reducing reliability or anything like that. This is a modification you can do that simply can't be done in the factory, it just takes too long to warrant it.
So it's down to you, the owner, to spend a measily 2 hours giving the inlet and exhaust side a jolly good polish. By doing this you will allow the air to flow much more smoothly, and faster! Getting the fuel and air mixed much more nicely, which will bond more fuel and air molecules, which, when ignited, will give you a bigger bang! Whether you actually feel this or not is debatable.
Some people say don't polish the exhaust side as that is what is causing the atomisation of the fuel and air, and thus the pairing of the molecules. Whilst this is true to an extent, it's not definitive nor is it conclusive. Feel free to correct me if I've been misled.
Unlike the transfers and boost ports of the cylinder, polishing the carburetor will not affect the oil delivery since this happens at the reed cage, however for those of you who are reading this that do not possess a DT, make sure that you understand that polishing the ports on a engine can affect the oil mixture. I run premix so I'm not fussed. And the DT's mix the oil at the reed cage so polishing the carburetor is fine.
Anyway I digress.
To do this modification you will want:
- Rotary Tool (Dremel)
- Metal Polish (AutoGlym)
- Polishing Wheel
- Carburetor Cleaner
You will need to spend approximately two hours on this job, this does not include the removal of the carb from the bike or dismatling it of any components. Mine was already dismantled so I just went ahead and polished it.
First
Firstly I would recomment just cleaning the carb out with the appropriate cleaner. Remove the float bowl and clean all the insides of it out. I would also leave it off because you will want to clean it again once you're finished.
Make sure it is dry, clean and free of dirt.
Then you can begin the polishing
Second
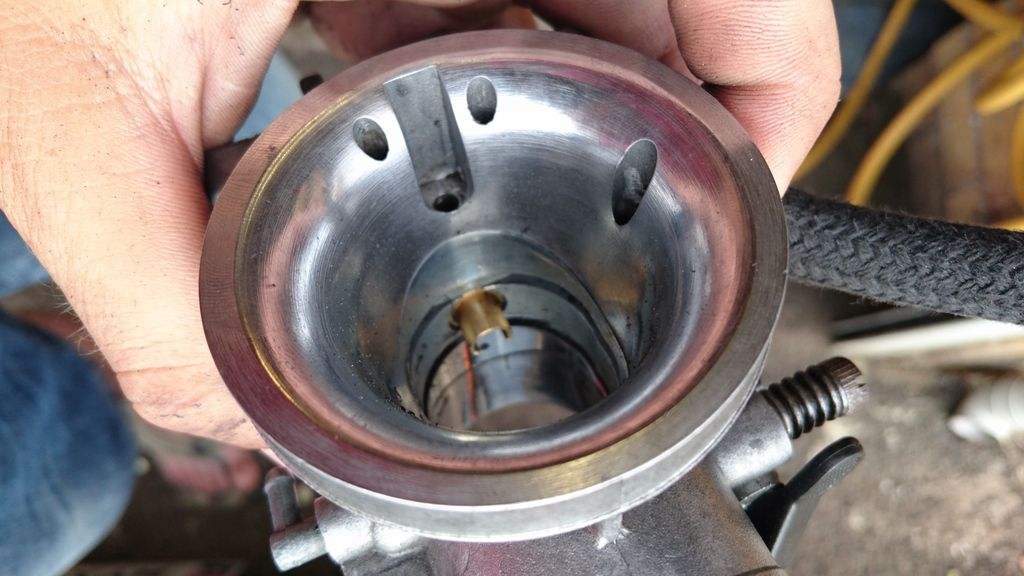
It won't matter what side you start with but I started with the intake side. (The bigger side that meets the air box. Although the photos I took are of the other side)
Intake Side Before. To the left VHSA to the right standard DTRE Carb
Out SideOnce clean and free of dirt, apply your
metal polishevenly to the insides of the carb. Coat all the way to the middle.It won't need to be perfect by any means. Just use your finger to apply it.
By using your
rotary toolstart to work the metal polish into the metal.Mine turns hard and black. When it does this I moved on to the softer areas.
You don't need to be agressive. Let the metal polish do all the work. Being gentle is key here and not too aggressive. You will want to repeat this process multiple times. You will notice on the first pass that it is starting to become shiny. By repeating the process you will start to polish in a
mirror finish.Even if you don't achieve a mirror finish you will notice that the surfaces have become slippery to touch, this is what you are looking to achieve.
Once you are happy with the finish clean it all off with the carb cleaner. Just make sure you catch it all and don't leave it all on the floor.
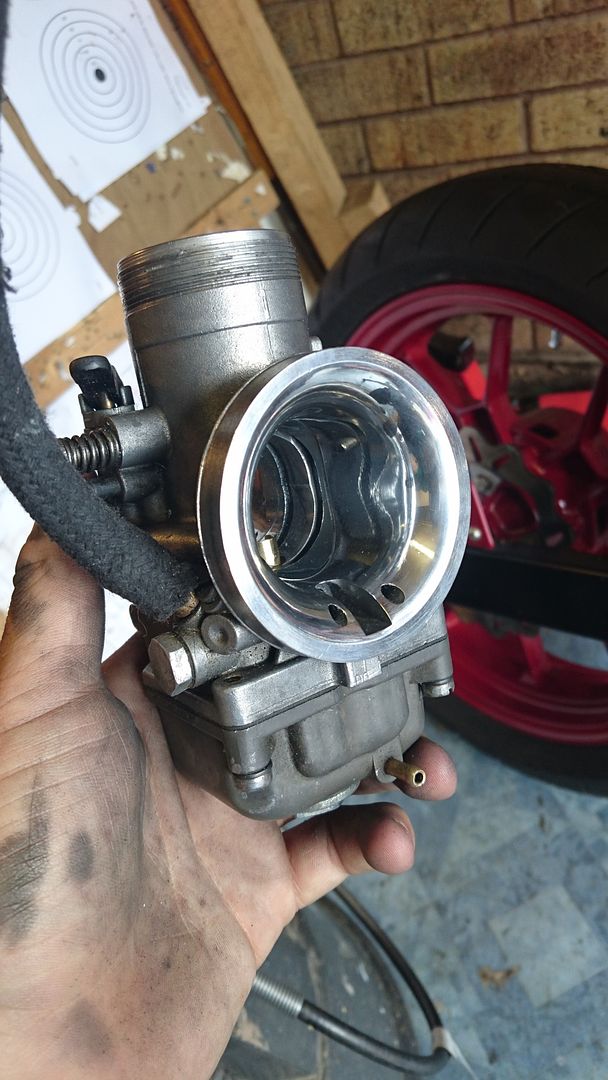
Once you're finished it will look much shinier and more importantly smother!
Pictures to follow!
Spend a bit more time using some better polish
Haven't finished yet.
-
Pretty sure 2ts Prefer a ruff inlet and polished exhaust 2t works better with rough inlet that smooth if I remember right
Hello! It looks like you're interested in this conversation, but you don't have an account yet.
Getting fed up of having to scroll through the same posts each visit? When you register for an account, you'll always come back to exactly where you were before, and choose to be notified of new replies (either via email, or push notification). You'll also be able to save bookmarks and upvote posts to show your appreciation to other community members.
With your input, this post could be even better 💗
Register Login