@Hybrid_Theory01 Is it a genuine Nissin BRAKE FLUID level window you're looking at purchasing? If not I wouldn't bother because I'm not sure a generic oil level window off eBay etc. would be safe to use for any length of time in this application. DOT brake fluid is a solvent, not an oil and due to this it can seep through certain types of plastic and rubber at a molecular level.
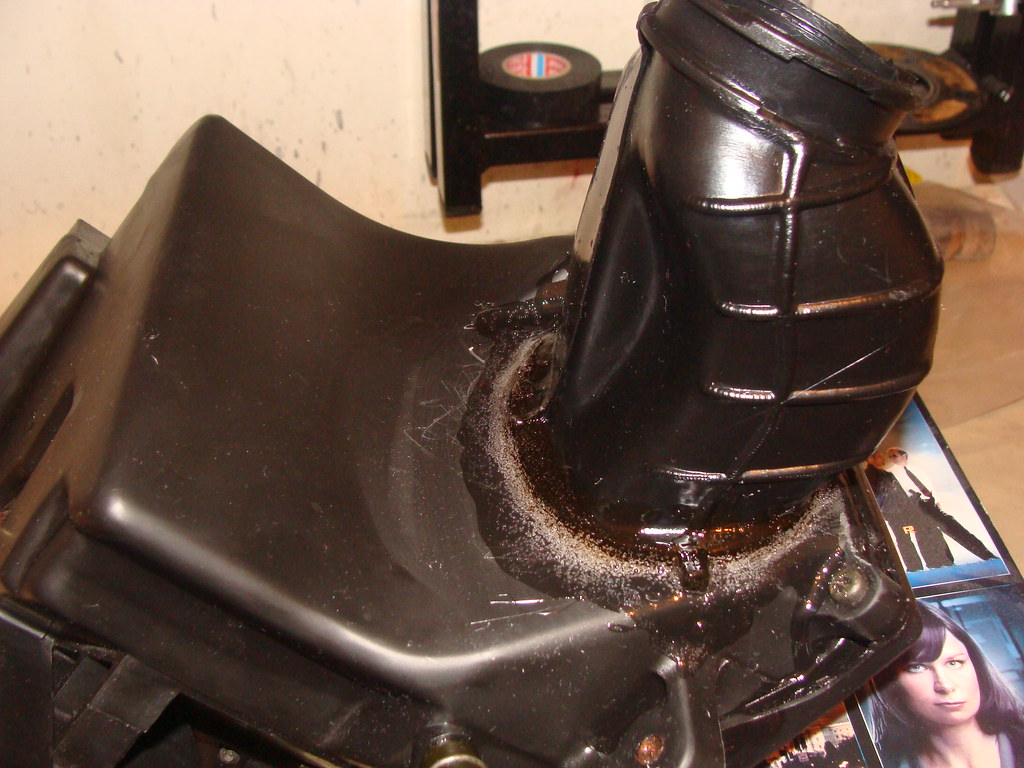
Looking at your photo, this looks to be a completely blank master cylinder housing, i.e supplied without any of the parts these usually include. So you'll also have to accurately drill and tap the M6 and M3 holes for the handlebar clamp and reservoir cap (never easy with basic hand tools). You might also need to do this for the M10 banjo bolt fitting and it's absolutely crucial for this to be done perfectly to ensure safe operation of the brake. Plus the fact, on the DTR master cylinder there is also a very neat plastic baffle in the bottom of the reservoir which traps dirt before it can reach the piston and seal. It looks like this is missing as well.
Your best bet is to buy a good used DTR master cylinder from a breaker and rebuild it with a genuine Yamaha master cylinder repair kit (not cheap but worth every penny). Have a full tin of brake cleaner handy to blast the whole thing immaculately clean inside and out, including the aforementioned plastic baffle (Holts 600ml is best as the spray nozzle accepts the same size straw as GT85 etc. for hard-to-reach places), thoroughly scrub the underside of the reservoir cap with one of those miniature wire brushes to ensure it vents properly, and buy a new rubber membrane that fits under the cap whilst you're ordering the repair kit (the idea here is the vent holes in the cap allow the membrane to change shape and occupy more space inside the reservoir as the pads wear and the fluid level reduces). It's also worth having a really good circlip plier set to remove the old piston and fit the new one, and your blank one can help you here; you only get one chance to fit those piston assemblies so get the old one out and use that and your blank to have a few practice runs before tackling the new one. Drop the entire new piston/seal assembly into some new brake fluid and dribble more fluid down the piston bore in the master cylinder before you start, and just clean off the excess once you're 100% happy the piston is fitted correctly and working.
Also find a local fastener supplier that sells new M3 CSK screws for the reservoir cap and use plenty of copper grease when installing these as they're prone to seizing which makes them almost impossible to remove.
No-one ever takes good care of master cylinders but doing this in conjunction with a full caliper rebuild and decent replacement hoses can give you better-than-new brake action and total peace of mind.